Scan-It-Yourself Tips: Scanning with an Ordinary Scanner and a Tablet
8 25 Share TweetDo you want to scan your negatives but don’t own a flatbed scanner? Do you have an ordinary scanner and a tablet? Look no further, I have a solution for you.
I’ve always wanted to scan my own photos. It gives you some kind of freedom and it saves you money. But to tell you the truth, where I come from, flatbed scanners are quite expensive. I managed to save some money and buy a flatbed scanner for 35 mm films, and that solved quite a lot of problems I had, but I still couldn’t do anything with 120 negatives. I tried posting them on my window and shooting them with my camera and I tried using a glass table, but that takes quite a lot of time and you have to do so much in post-production.
Then one day, when I was just surfing YouTube, I saw a video with a tutorial on how to do it with a scanner and a tablet. I immediately tried it and was impressed.
You will need:
- an ordinary scanner (I used a HP F380)
- negatives
- a tablet (I used an iPad but you can also use others, maybe even a big enough smartphone)
- an app that gives you a bright white page on your tablet (I used a flashlight app)
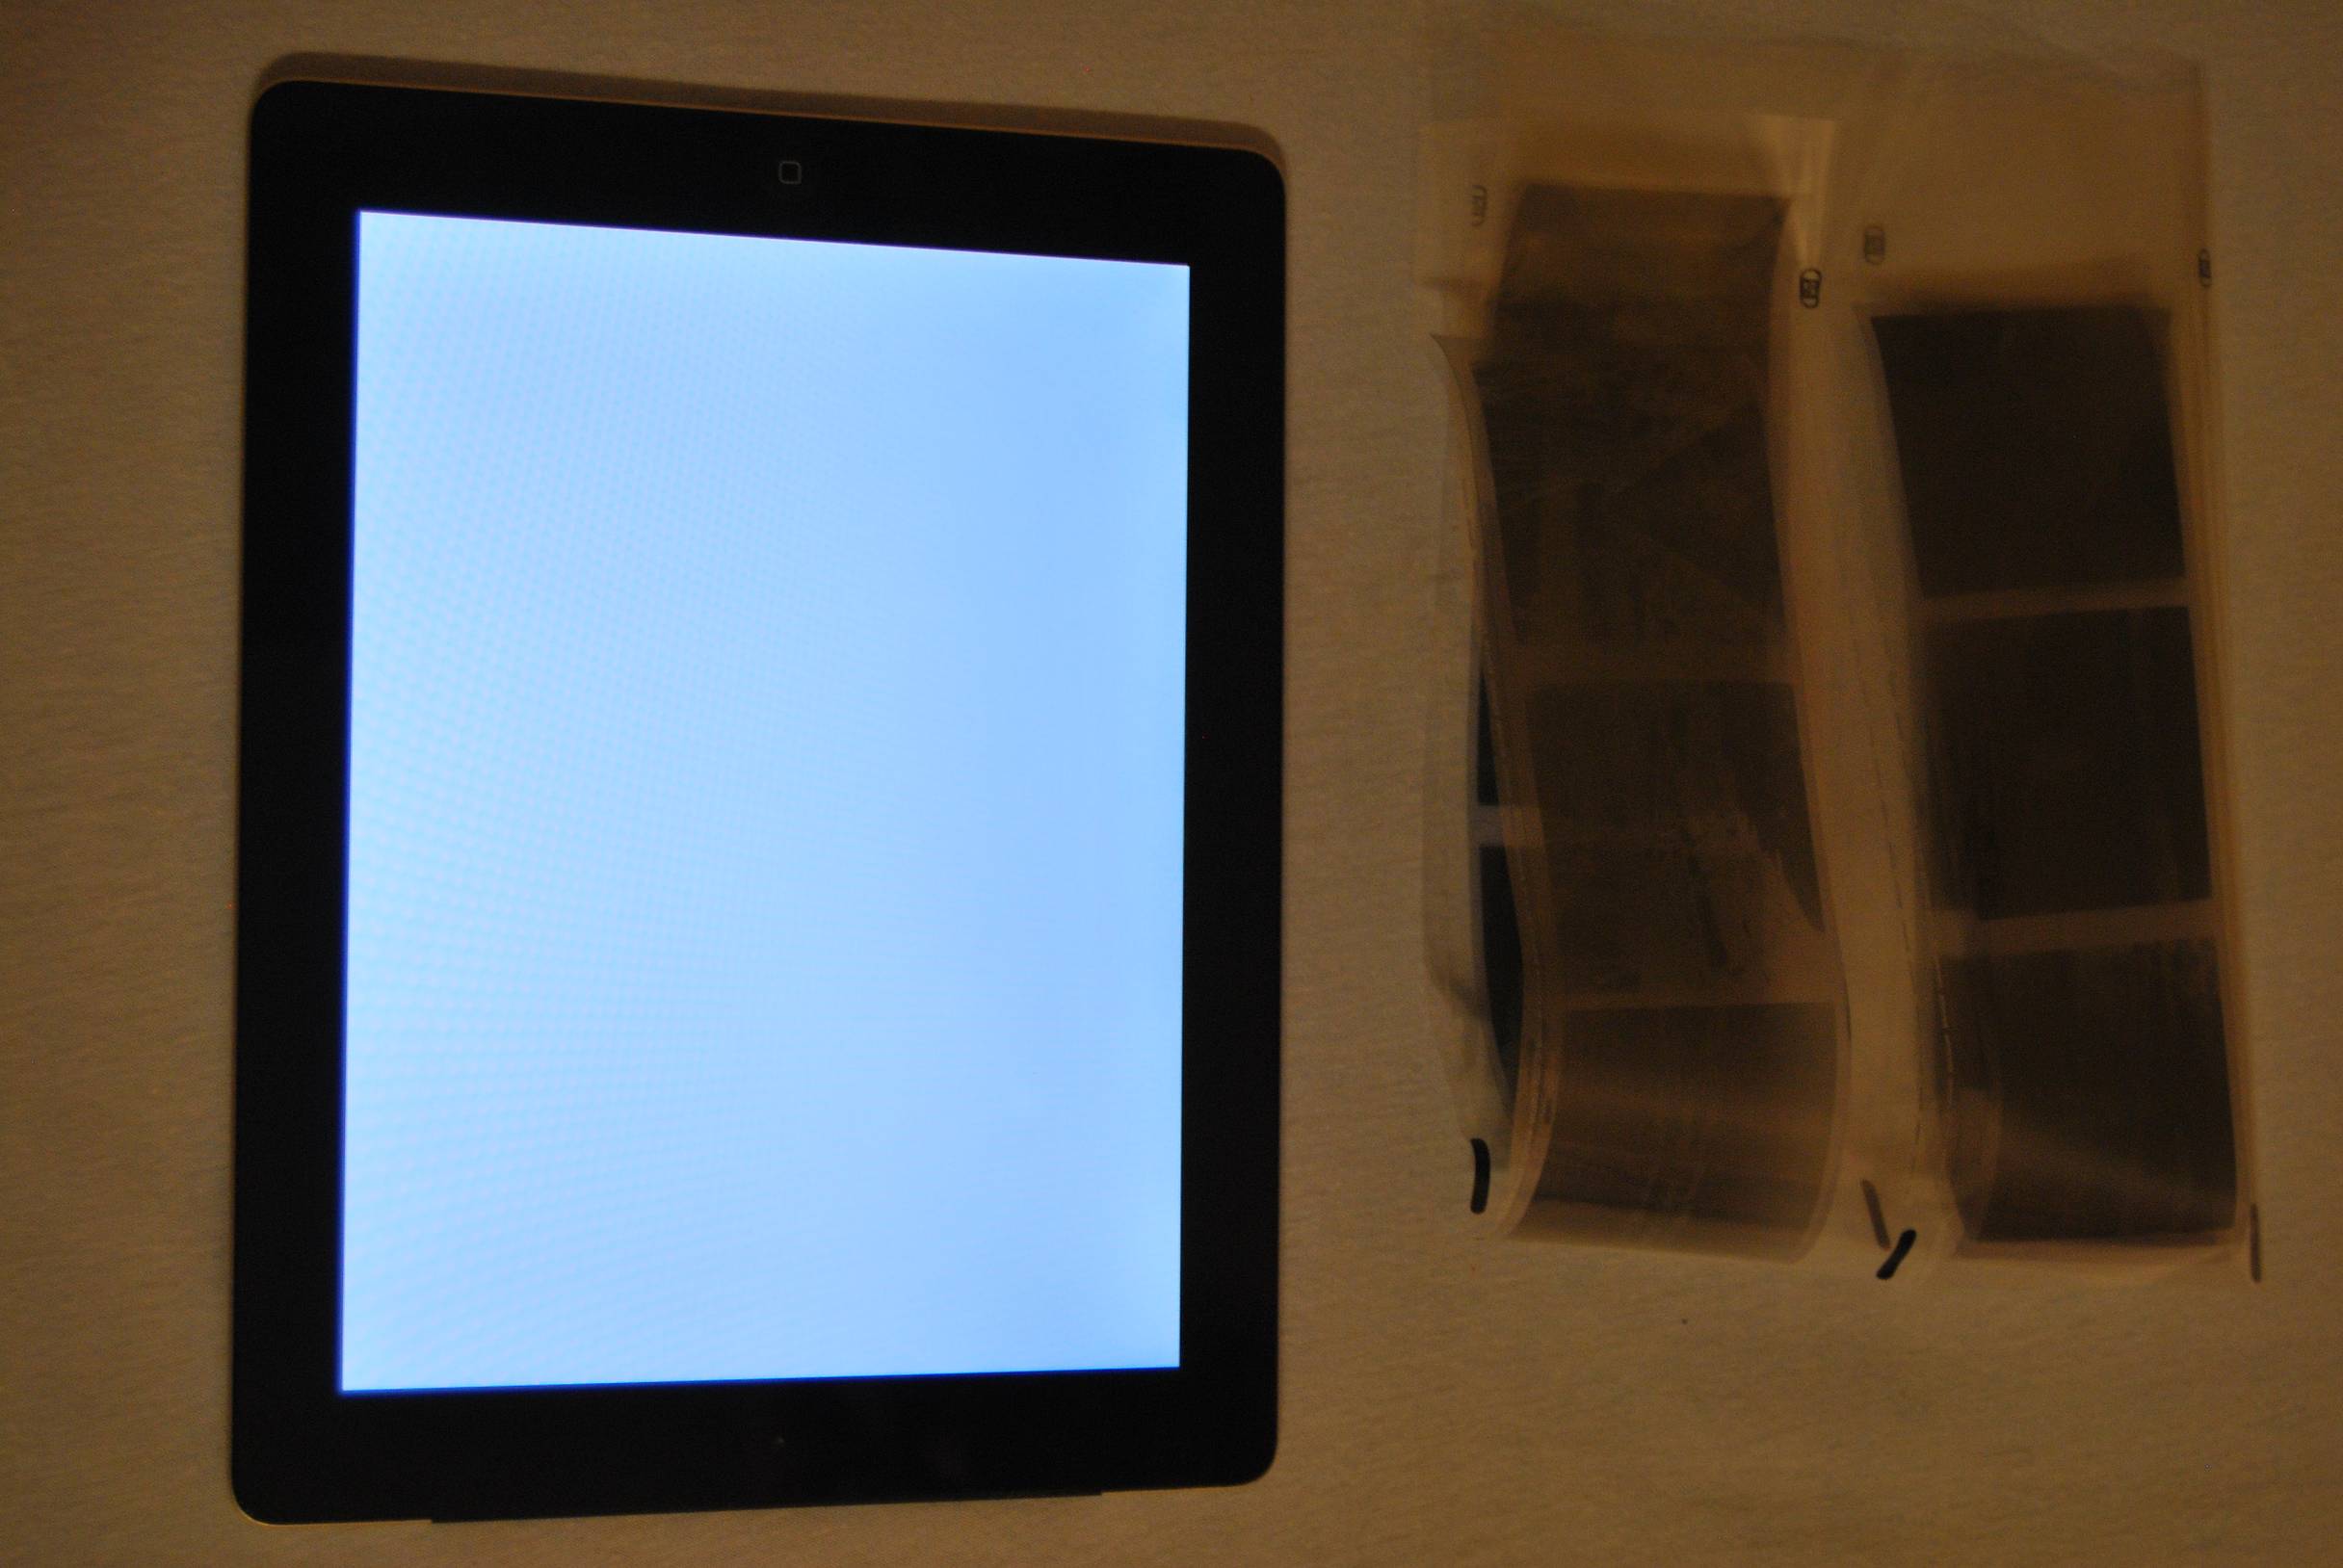
The procedure is so simple it’s almost funny. Open your scanner, put negatives on the glass, cover them with a tablet that has a bright white page on, cover the scanner and scan with the program you usually use for scanning photos.
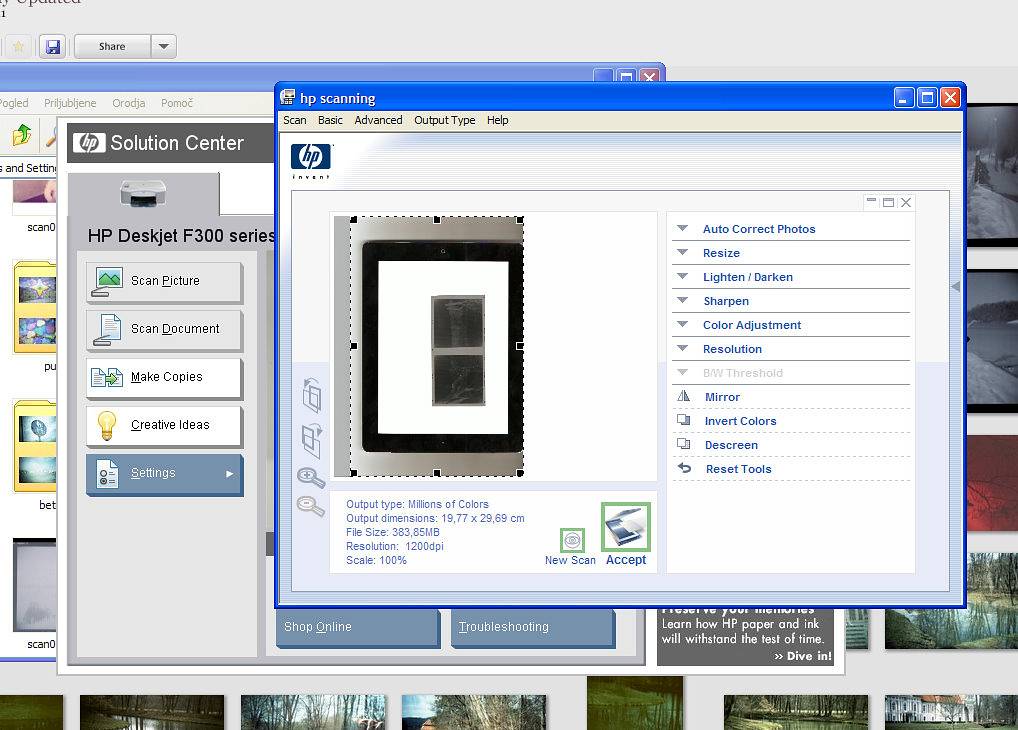
Invert the colors when you scan the negatives, and voila! That’s it! If you’re not satisfied with the colors or contrast, you can of course edit them a little bit. I didn’t do anything with mine, I was satisfied with them even though they might have a bit of a bluish tone.


Another quick and convenient way to scan your negatives is by using Lomography’s scanning kits. These already contain everything you need to start your Scan-It-Yourself journey, including the backlight panel, film holders and film masks, panoramic diffusers and more.
There’s the DigitaLIZA+ for scanning 35 mm, 120 and 127 negatives with a digital camera, the Smartphone Scanner for scanning 35 mm negatives with a smartphone, and the DigitaLIZA Max for scanning 35 mm, 120 and 127 negatives with either a digital camera or a smartphone! And if you’re having trouble achieving your preferred colors, you can use the Lomo DigitaLIZA Lab to easily convert and fine-tune your scans. Scanning your own negatives lets you exercise creative control from start to finish, so it’s definitely worth trying.
written by lomofrue on 2013-04-26 in #gear #tutorials #negatives #tip #scanning #tipster #scan #scanner #tablet


8 個留言